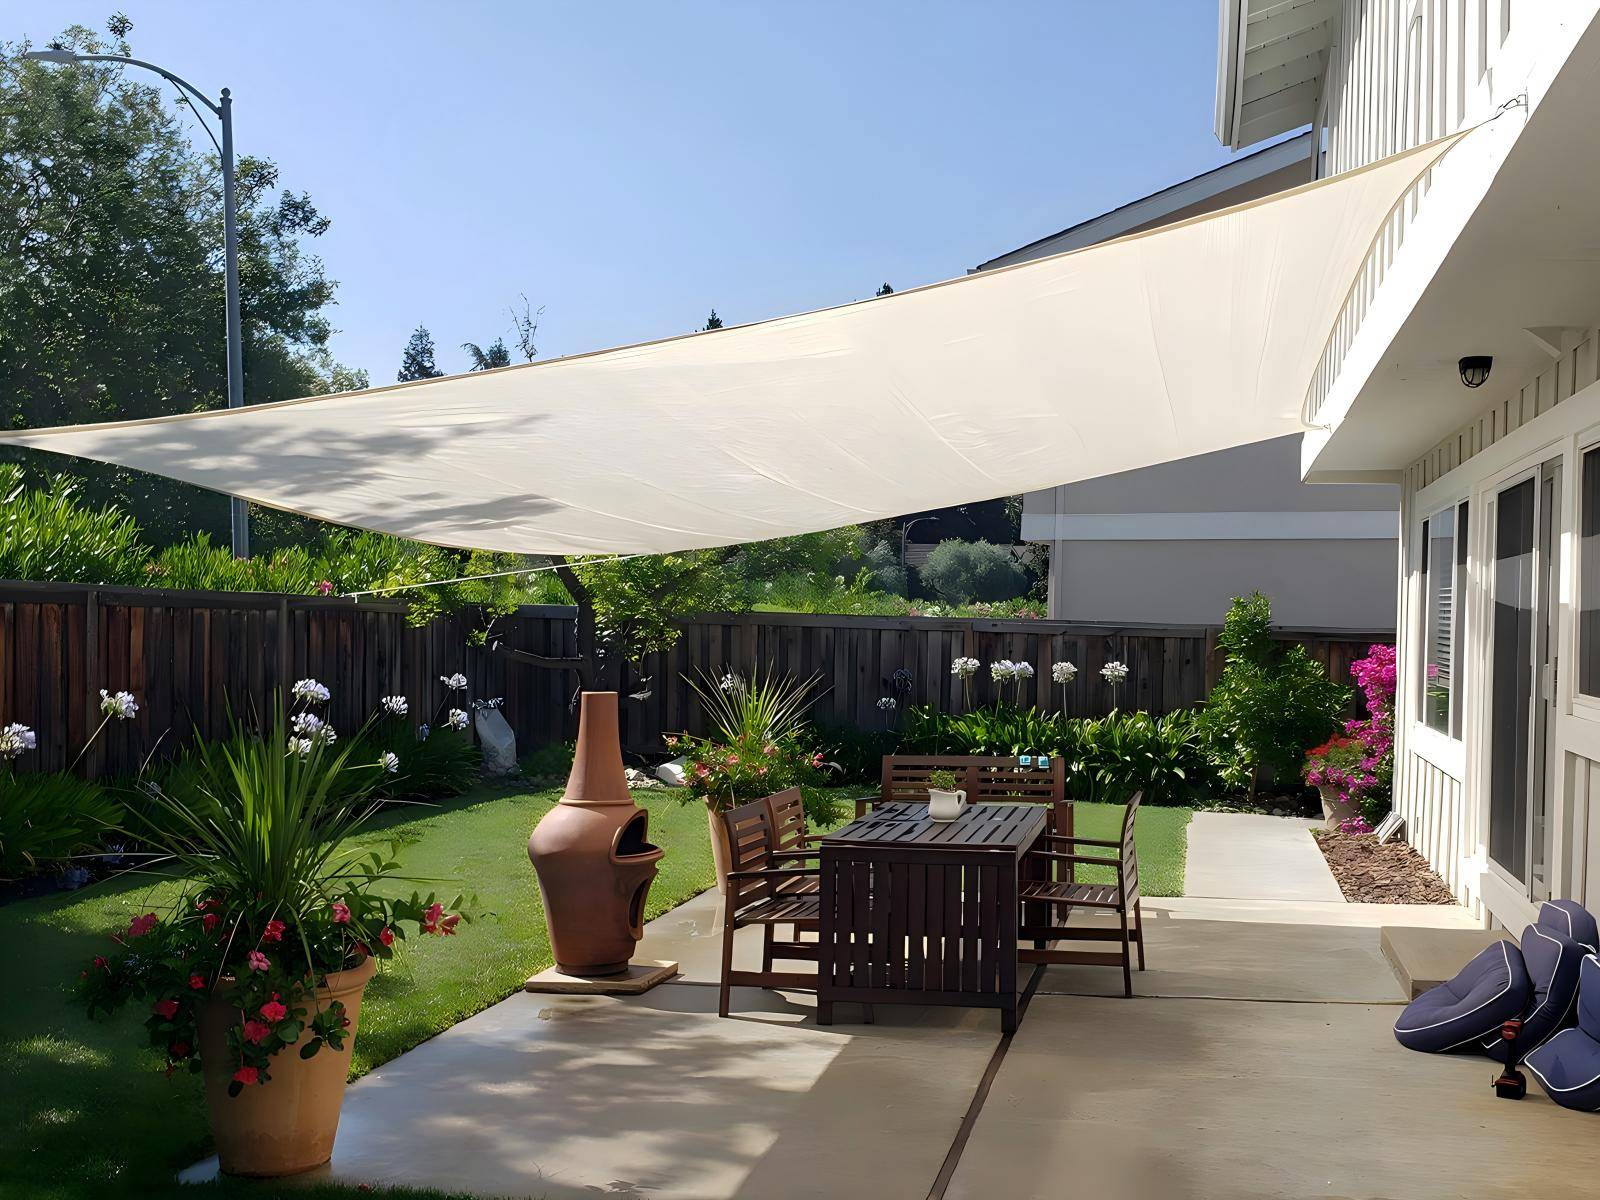
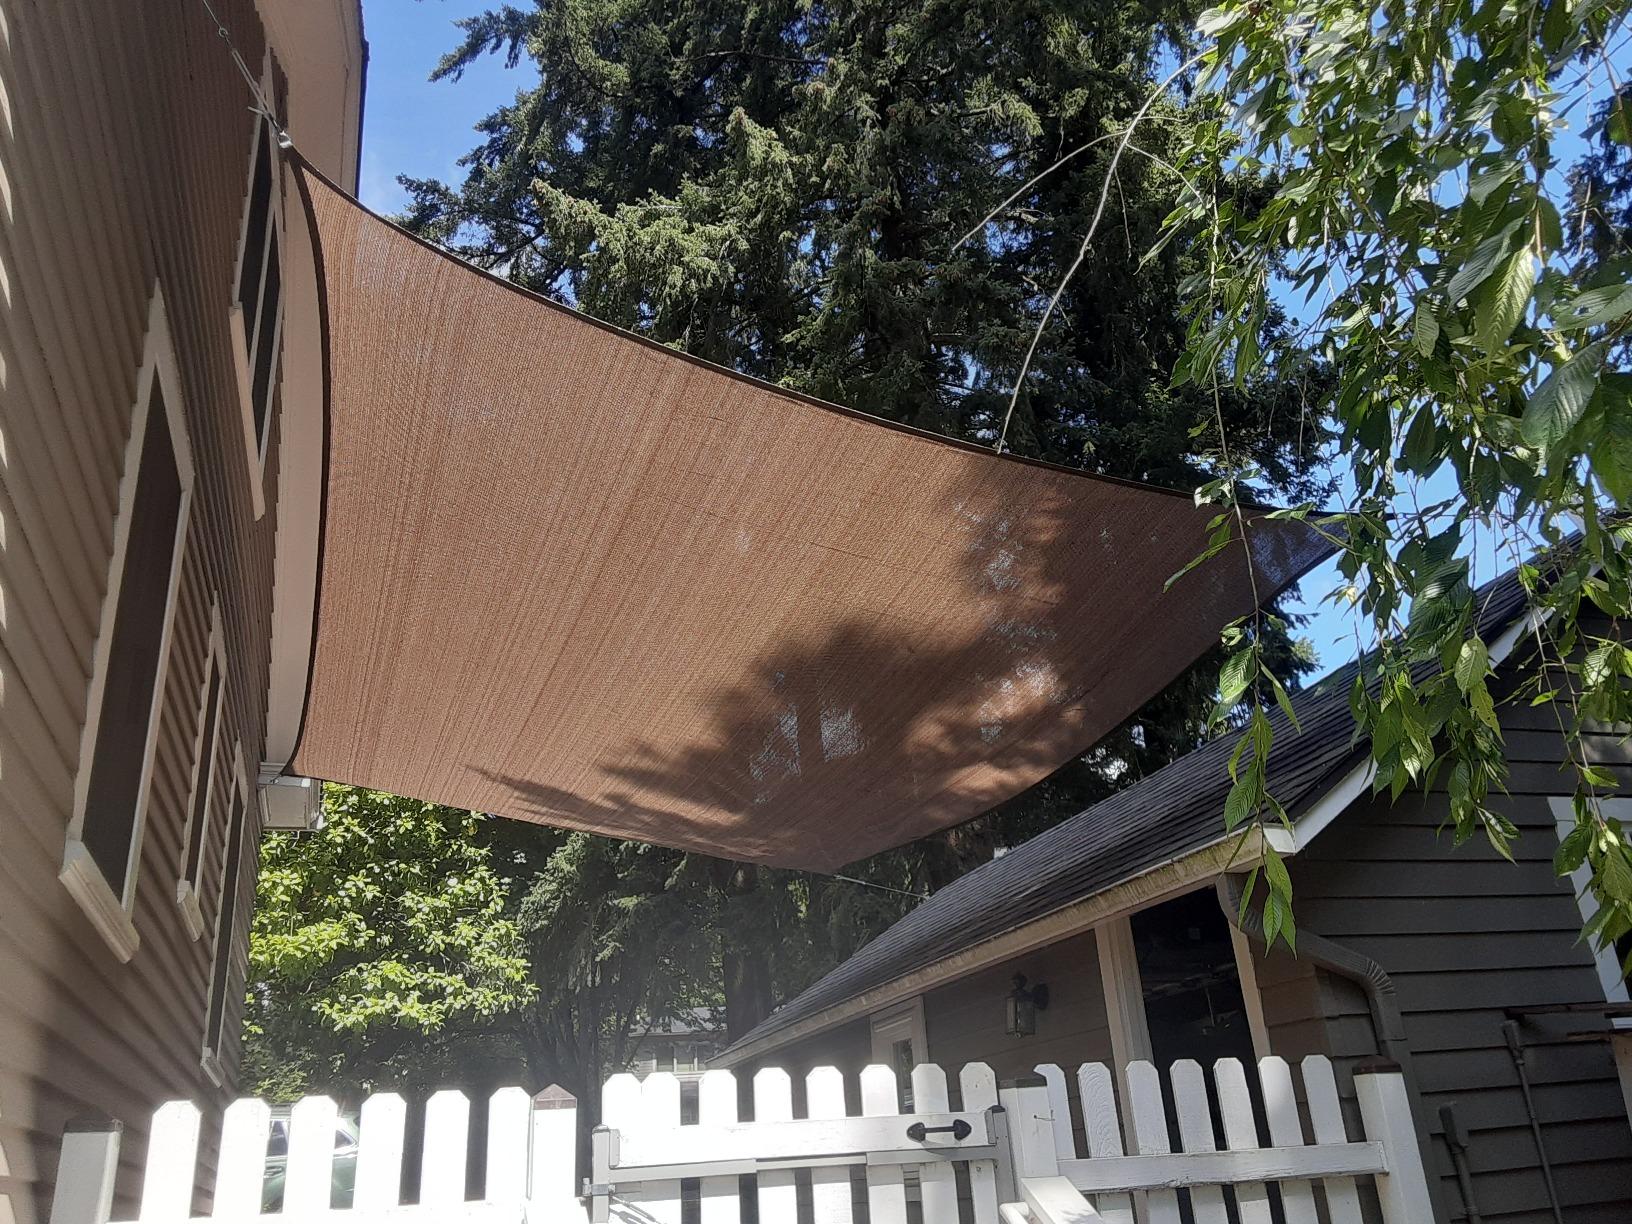
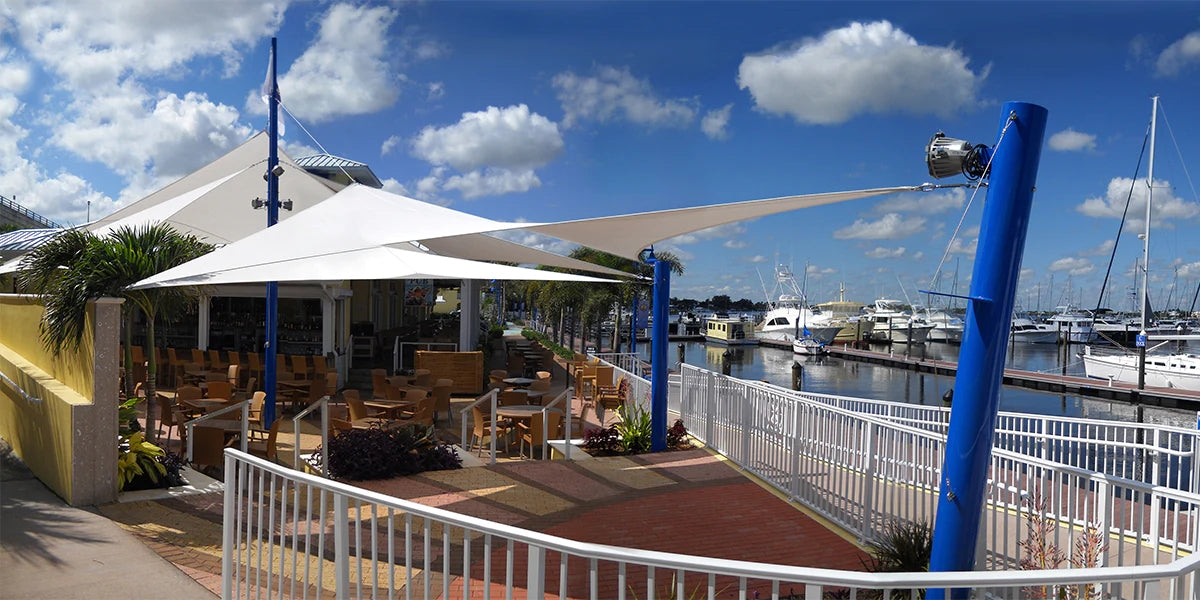
If your shade sail is sagging, wrinkling, or drooping in the center, you’re not alone.
Plenty of homeowners run into this problem—especially after their first DIY install or a good bout of wind and rain.
No sweat. Below, we’ll break down why your shade sail is sagging, how to fix it, and—most importantly—how to stop it from happening again.
The Real Reasons Behind a Sagging Shade Sail
1. Cheap Material: Cheap ≠ High Cost-effectiveness
Shade sails are made from woven plastic fabrics like HDPE, polyester, and PVC, which naturally have some stretch. To withstand the elements outdoors, they need both quality material and special treatment.
Higher-grade sails are UV-resistant, treated with coatings, and built to resist stretching—giving them a solid 5-year lifespan. Cheaper ones? They’ll sag faster than a wet noodle after a few months of sun or rain.
Pro Tip:
Look for tightly woven, reinforced shade sails (like high-density polyethylene) with anti-tear strength ≥800N, a long-term stretch rate under 2%, and UV protection ≥95%.
2. Installation Mistakes: Did You Really “Tighten” It Right?
Many users struggle to get their sails tight—not because the sail is faulty, but due to missed installation details. Sometimes, even if you’ve cranked those turnbuckles, tiny mistakes can sabotage tension. Note:
Incorrect Anchor Point Placement
When anchor points vary too much in distance from the sail’s center, it creates uneven tension and structural instability. Even worse, if the tension doesn’t aim at the center of the sail, it throws the whole thing off balance and speeds up sagging.
Pre-Tension Problems
Not enough pre-tension? The sail sags. Too much? You risk tearing the fabric or damaging the posts. Ideal pre-tension is around 10%-15%, evenly spread across all corners.
Poor Slope Design
Flat installations collect water and sag fast. Your sail should have a minimum slope of 30° (35°–40° recommended) for drainage and tension efficiency.
Pro Tip:
Anchor distances should be roughly equal from the sail’s center, tension should pull toward the center(Think of tension like a spiderweb), and your height/slope setup needs to work with gravity, not against it.
3. Lack of Maintenance: Ignoring the Weather = Shorter Lifespan
No fabric is invincible—not even the best ones. Prolonged rain and wind can stretch the material over time, especially if dirt and debris block drainage and airflow. If tension isn’t checked regularly, the sagging becomes permanent.
Pro Tip:
Hose it down monthly. Do a full tension check every 3–6 months—more often if you’re in storm-prone areas.
Why Sagging Sucks
Shade sails are popular for a reason: they’re lightweight, efficient, versatile, beautiful, easy to install/remove, great for temperature control, and low-maintenance.
But a sagging sail? It can reduce UV protection by up to 75%, accelerate material aging, and even create safety hazards.
Fixing Sagging: From Quick Fixes to Long-Term Prevention
Most sagging is fixable—whether it’s from a bad install or Mother Nature’s tantrums.
For sudden droops
Temporary Reinforcement: Add an adjustable pole beneath the center to distribute the load.
Drainage Help: Tie an elastic cord at the low point to create a makeshift drainage slope (great fix for standing water issues!).
Long-Term Fixes
Upgrade your hardware: Spring turnbuckles or ratchet tensioners let you tweak tension easily.
Reinstall smarter: Use the “diagonal diamond” method—tighten corners diagonally (like lacing shoes) to balance tension.
Prevention
Buy quality once: A premium sail pays off in longevity.
Slope it right: Water needs to run off, not pool.
Seasonal tweaks: Crank tension up during rainy seasons, ease it slightly in winter to avoid over-stretching(Store immediately in extreme weather).
Final Takeaway
A sagging sail’s usually a fixable mix of cheap materials, install oops, or lazy upkeep. Nail the basics—quality fabric, smart angles, and regular tweaks—and you’ll keep sun sail tight for years. And hey, if all else fails? Call a pro. Sometimes DIY pride isn’t worth the frustration.


