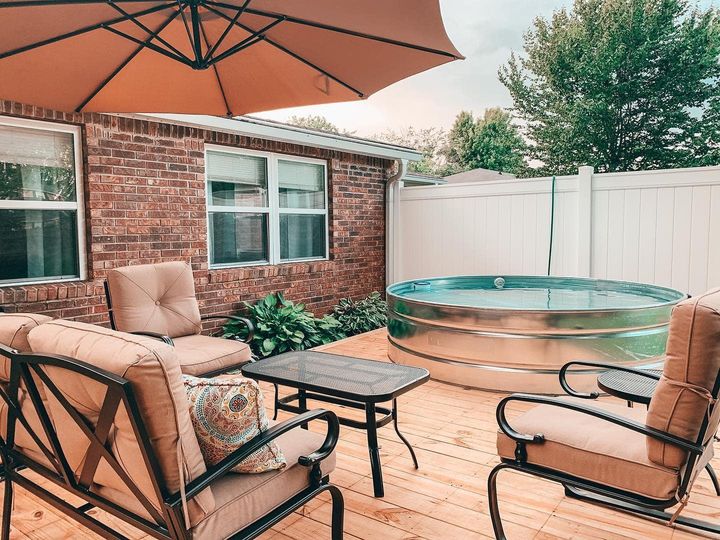
Choosing to complete a shade sail installation project on your own is the choice of the vast majority of people. In terms of expense, the reason shade sails are our value-priced outdoor shading solution stems from the fact that it's inexpensive, and hiring a professional to install it would be out of budget (costing an additional $75-$200). In terms of installation difficulty, it's a simple DIY project with little technical difficulty if you're prepared.
This guide will give a short overview of the shade sail installation process. Some necessary hints and practical installation tips will assist you in perfecting your shade sail installation if you choose to DIY shade sail. This can make you fully realize the fun and sense of achievement of completing DIY installation projects independently.
Important Preparation
You may have completed the pre-planning for the installation of the shade sails before purchasing the shade sails, and you may have prepared the tools.
That's great, but first please make sure you check two things:
- Have you checked the strength of the structure where the anchors are mounted? Shade sail posts, walls, large trees, garage brackets ...... whatever the structure is, you need to verify that they are strong enough to be used as a support structure.
- Is there enough space between the mounting anchor point and the shade sail for the attachment hardware? For example, you are using the SUNLAX Rectangular Shade Sail Hardware Kit 8 in. Then, you need to leave 12-16 inches empty to be reasonable. This detail will directly lead to a difference in the way the shade sail is installed, and the tools needed depending on how it is installed.
Installation Tools
To do a good job, an artisan needs the best tools. So Look at what tools you need as your helpers.
1. Necessary tools
The easiest way to install a shade sail is when there are already fixed mounting anchor points and the distance between each corner of the shade sail and the anchor points is within the design limits, in this case only a few necessary tools are needed.
Tape measure and grease pencil - these are the tools you will need from the beginning of your plan to purchase a shade sail, and it would certainly be reckless to envision and make a purchase without using them for exact measurements and markings. You can rely on them to most quickly adjust the shade sails to perfection.
Shade sail mounting hardware kit - please select the mounting hardware kit according to the type of shade sail you have chosen, in the case of the SUNLAX Rectangular Shade Sail Hardware Kit, for example, the kit will necessarily include a sufficient number of the turnbuckle, snap hook, pad eye, screw, plastic expansion.
impact drill and appropriately sized drill bit - essential tools for drilling screw holes
2. Optional tools
- rope
- ladder or scaffolding
- adjustable wrench
These tools are of course in your DIY tool library, and they can assist you in making the installation process smoother. Enable your tool library and show off your skillful installation skills, you are a life master.
3. Additional tools
Simplicity is the ultimate complexity. Simple ideas may require complex installations. Considering the overall layout of your outdoor space, you will most likely need additional tools to complete the installation of a shade sail pole or shade sail post.
- post hole digger
- gardening unicycle
- Ready-to-use concrete mix
- Flushing hose
- Shovels
- 6x6 feet Treated ground contact wood post or metal stakes
Installation process
1. Determine the support structure
Those that already have a support structure can skip this step. Those who need to create a support structure can use 6x6-foot wooden piles(Good non-rusting metal stakes cost too much, and most of the decorative effect is not as good as wood stakes, according to the needs of careful selection). The height of the piles is around 12-15 feet.
Use a post-hole digger to make a hole at least 3 feet deep at the marked location, insert the stake, bury the ready-to-use concrete mix with a trowel, and then tap it solidly until the stake does not wobble, and wait for it to set.
Tip:
-
If the soil in your yard is too soft, consider mixing some gravel into the concrete while using a ladder as a support for the post, which is a great way to hold the post in place until the concrete sets.
- To prevent possible shifting of the posts caused by hanging shade sails for a long period, you can offset the posts outward by 10-20 degrees beforehand. This can also serve as a remedy in case the holes are dug at the wrong distance.
2. Mounting Anchor Points
Attach the mounting hardware to the shade sail posts and support structure in order. Press down on the pad eyes, mark the screw eyes, create screw holes with an impact drill, and secure the pad eyes with screws. Attach the D-rings.
Tip: Divide each anchor point into different heights, preferably with the low side facing outward and the high side facing the house to prevent rainwater from accumulating and increasing wind resistance.
3. Installing the Shade Sail
Before hoisting the sail, check the condition of the sail, it must not be damaged or torn, if so, it needs to be repaired promptly. Link each corner of the shade sail to the mounting anchor points using screw fasteners and spring hooks. If it is difficult to do it alone, use the rope to pull the shade sail for temporary fixation.
Adjust the distance between the corners evenly, making sure that the screw fasteners at each corner leave room for adjustment. Tighten the screw fasteners little by little until it is difficult to turn before the shade sail is taut. Ensure that the edges of the shade sail are pulled tight.
Tip:
Evenly adjusting the distance between each corner and the mounting anchor point is to even out the forces and ensure the longevity of the attachment hardware and support structure as much as possible.
If there is an error in the distance, you can extend the range of the connecting hardware with a wire.
4. Maintenance measures
-
Only once a year, you should select a moderately sunny day to take down the shade sail and inspect its condition for any signs of tension loss or damage.
-
Prepare mild soapy water or a special cleaner, dip a mop into it, apply it gently to the shade sail, and then leave it on for 15 minutes. For hard-to-brush dirt, scrub with a sponge and soft brush.
-
You can use a hose to rinse the shade sail, rinsing all around the edges of the sail until the water runs clear and there are no bubbles. Then air dry.
- In winter, lower the shade sails in time to avoid being affected by extreme weather such as snowstorms.
Finally
Enjoy the fruits of your labor and you'll find the project not difficult at all and even brew up more ideas for shade sail installation.